Polylang Quick Start Guide (2025)

Polylang is one of the most popular and lightweight plugins for creating a multilingual WordPress site. It allows you to translate posts, pages, menus, widgets, categories, and even URLs — all while keeping your database clean and performance high.
This quick start guide walks you through everything you need to set up a multilingual site with Polylang: installation, language setup, translation workflow, menus, widgets, and media translations.
What You Can Do with Polylang
- Create multilingual posts, pages, and custom post types
- Translate categories, tags, menus, and widgets
- Add language switchers anywhere
- Translate permalinks and slugs
- Use either manual or assisted translation
- Keep site performance fast (no heavy page builders)
Note: Polylang is free, but Polylang Pro adds URL features, automatic duplication, sticky translations, and better WooCommerce compatibility.
Step 1: Install and Activate Polylang
- Go to Plugins → Add New
- Search for Polylang
- Click Install → Activate
After activation, a setup wizard appears automatically.
Step 2: Add Your Site Languages
Polylang allows you to add multiple languages and configure language-specific rules.
How to Add a Language
- Go to Languages → Languages
- Click Add New Language
- Select a language (e.g., English, Japanese, Spanish)
- Assign a URL slug (e.g.,
/en/) - Choose a flag and locale
- Save
Repeat for each language you want to support.
Language URL Options
- Directory mode:
/en/,/fr/(recommended) - Subdomain mode:
en.yoursite.com - One domain per language: requires Polylang Pro
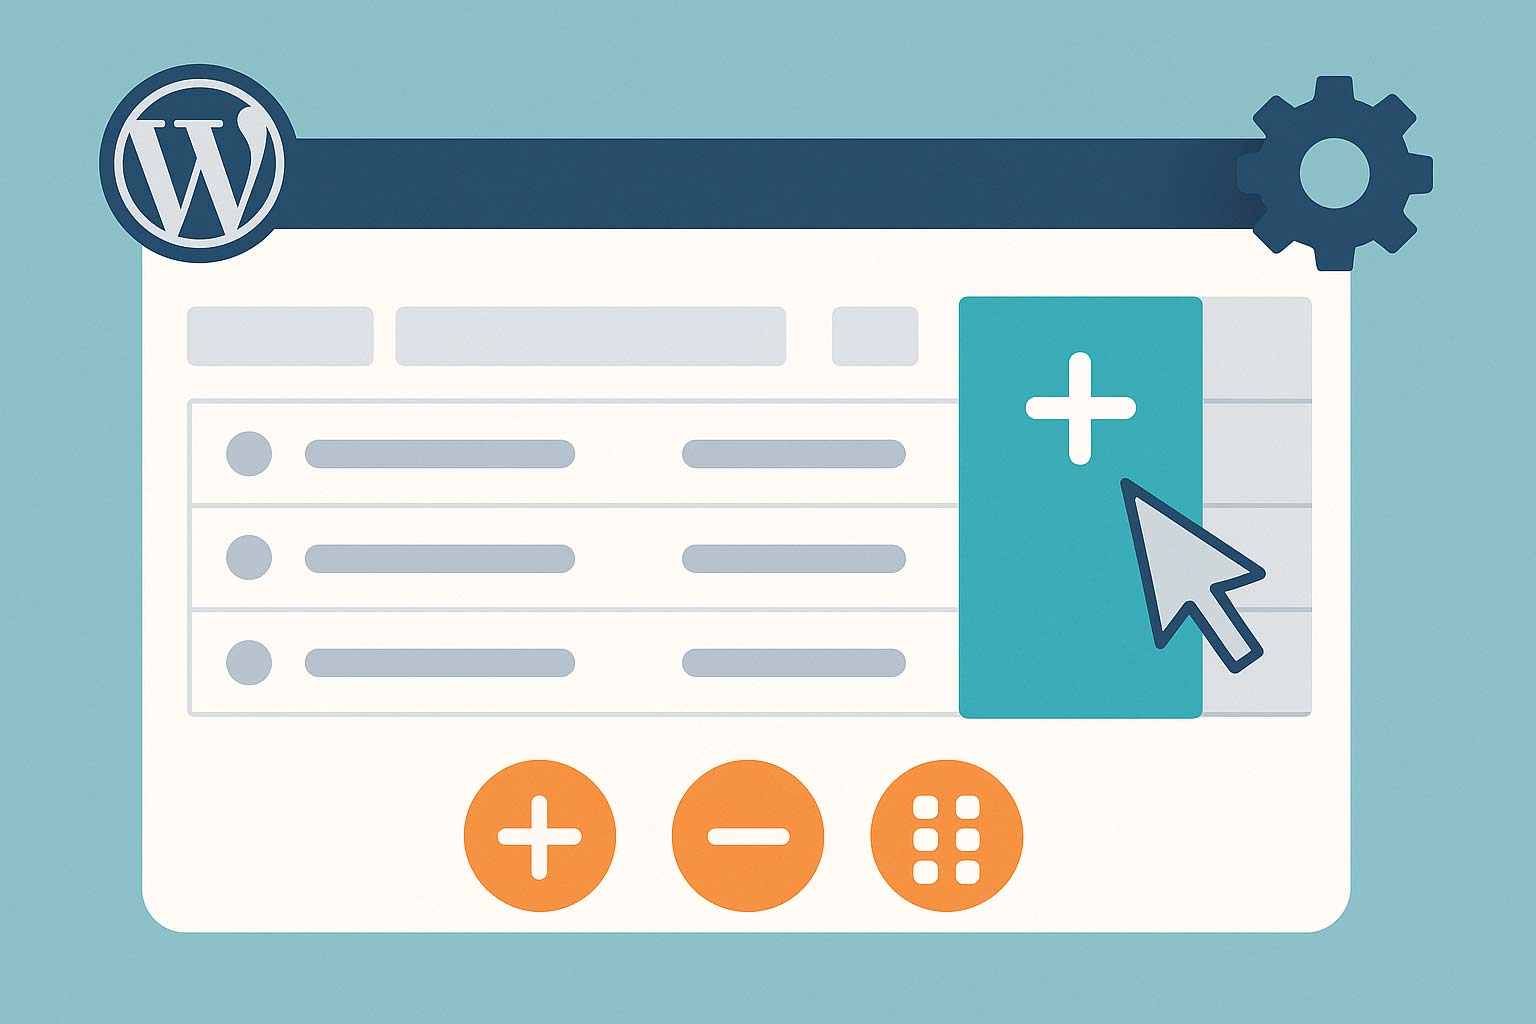
Step 3: Translate Posts & Pages
Polylang uses a simple UI inside the editor. Each post or page has separate translations.
How to Translate a Page or Post
- Edit a post
- Find the Languages box in the sidebar
- Select the content’s language
- Click the + icon next to the language you want to translate into
This creates a new post linked as a translation of the original.
Translate Slugs
Each language version can have its own slug:
English: yoursite.com/about/
French:  yoursite.com/fr/a-propos/
Japanese: yoursite.com/ja/会社概要/
Step 4: Create Multilingual Menus
Polylang requires a separate menu per language. This ensures full control over localized navigation.
Steps
- Go to Appearance → Menus
- Create a menu for English → Assign “Primary Menu (English)”
- Create a menu for Japanese → Assign “Primary Menu (Japanese)”
- Repeat for all languages
Menus do not auto-sync; you add items manually for each language.
Step 5: Add a Language Switcher
Users need a way to switch between languages. Polylang’s switcher is flexible and can be added to:
- Menus
- Sidebars
- Footers
- Your theme (via shortcode or PHP)
Menu Language Switcher
Inside Appearance → Menus, add the built-in “Language Switcher” menu item.
Widget Language Switcher
Use the Language Switcher block in the Widgets editor.
Shortcode
[pll_language_switcher]Step 6: Translating Categories, Tags & Custom Taxonomies
Polylang lets you translate taxonomy terms just like posts.
Steps
- Go to Posts → Categories
- Select a category
- Add translations via the Languages panel
You can do the same for tags and custom taxonomies.
Step 7: Translate Widgets, Site Title, and Other Strings
Some texts do not appear in posts or menus — these must be translated using the String Translations tool.
- Go to Languages → String Translations
- Find strings like:
- Site title & tagline
- Widget text
- Theme options
- Customizer labels
- Add translations for each language
This replaces text that appears globally on your site.
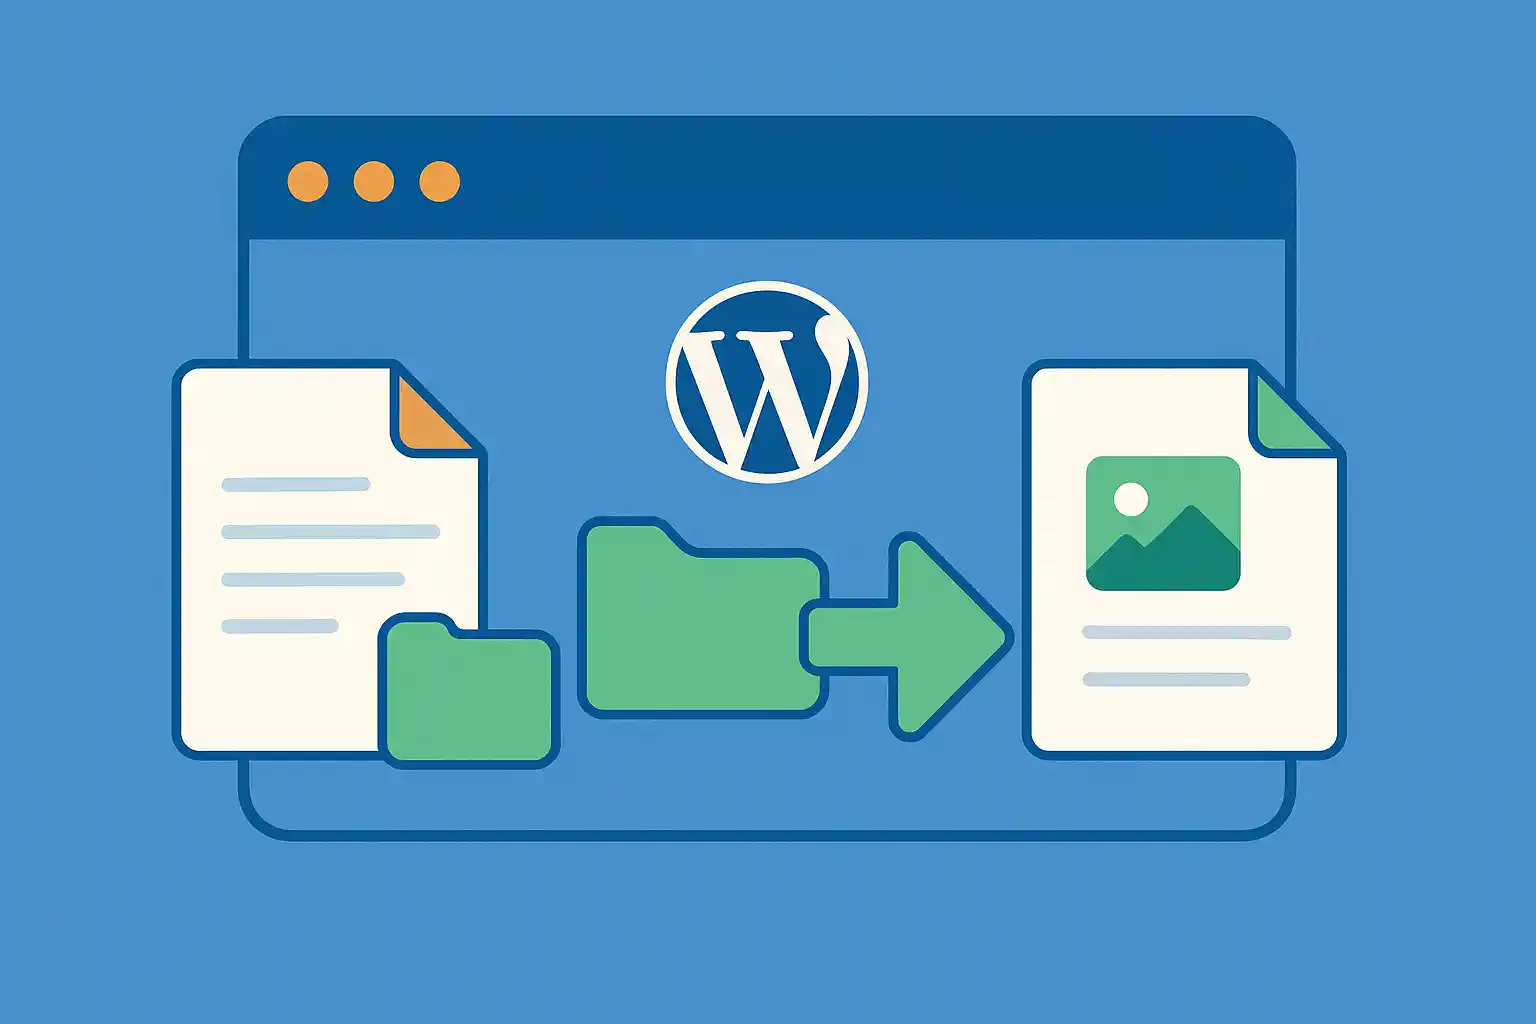
Step 8: Translate Media (Optional)
You can choose between sharing the same media across languages or enabling media translation.
Enable under:
Languages → Settings → Media
If enabled, each language gets its own translated image titles, captions, and alt text.
Step 9: Check URL & SEO Settings
Polylang is SEO-friendly and works well with Yoast, Rank Math, and SEOPress.
Make sure:
- Your sitemap includes multilingual versions
- Each language has unique URLs
- hreflang tags are enabled (Polylang handles this automatically)
Polylang Pro Advantages (Optional Upgrade)
Upgrade if you need:
- URL customization by language (e.g.,
/blog/vs/ニュース/) - Content duplication for quicker translation
- WooCommerce Multilingual features
- Professional translation workflow
- Better string detection
Common Polylang Pitfalls & How to Avoid Them
- Forgetting to set a language for posts: Always select a default language.
- Duplicate URLs: Ensure slugs differ per language.
- Theme hard-coded text: Translate via String Translations.
- Menu missing in another language: Create a separate menu for each language.
Conclusion
Polylang is an excellent choice for multilingual WordPress sites thanks to its clean architecture and performance-focused design. By translating posts, menus, widgets, and strings — and adding a language switcher — you can build a fully localized site with minimal complexity.
Summary:
Install → Add languages → Translate content → Create menus → Add switcher → Translate strings → Configure SEO.
Once set up, Polylang makes managing multilingual content simple, scalable, and efficient.
🔌 Looking for more? Check out our WordPress Plugins Hub to discover recommended tools and how to use them.